Picture Framing Tools That Pay for Themselves?
Now that we've covered the basic picture framing tools, it's time to talk about a few advanced tools that can help you improve quality and save you money.
If you already own them, you know what I mean.
If you don't, you may want to consider them as you get more comfortable making frames...
...especially if you think you're going to make them regularly...doubly so if you plan on selling them.
The reason? Pre-milled wood. There are many pros to buying pre-milled wood, like saving time and it's your only choice if you don't have a planer (or a friend who can plane it for you!).
The cons of pre-milled wood:
- costs more than raw lumber (a lot more for woods like cherry and walnut for example and all exotic woods)
- is typically sold only as 3/4 of an inch thick
So, keep these "picture framing" tools on your wish list.
By the way, these tools will also help you improve and save money on all of your wood working projects...
...this is great to point out if you have to justify spending the money to someone else :)
Advanced Picture Framing Tools: Thickness Planer
|
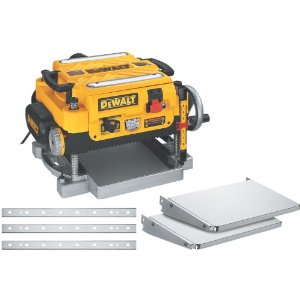
If you're going to use raw lumber you have to have a thickness planer. This tool removes the rough surface on both sides of a piece of lumber, giving it a nice finished look and can reduce it to any thickness you want. You can, literally, take a 2 inch thick piece of wood and plane it down to a 1/4 of an inch thick... ...not that you would ever do that, but you could! Its nice to have choices.... |
A planer can also ensure that your rails are identical in width - something that's very important when it comes to perfect miter joints.
I have - and love - the Dewalt DW735, shown here - 2 speed planer. Click on pic to see the details.
It will rough cut a lot of wood and then, after changing the speed, leave a beautiful and smooth finish. It's one of the best tools in my shop.
Jointer
|
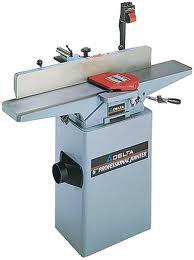
Jointers are not typically thought of as a picture framing tool. They are used to make sure the face of a board is perfectly flat and the edge is a perfect 90° to that face of the board. This is an important part in the process of creating perfectly square rails to work with. That's what makes it a picture framing tool! People often confuse planers and jointers but they serve 2 different purposes. A jointer flattens and squares.A planer creates uniform thickness. One complements the other. Use the jointer before the planer to flatten one face of the board and then square one edge. |
 |
There are so many to choose from out there, so do your research. here is link to a jointer, made by JET, that gets great reviews:
JET 708457DXK JJ-6CSDX 6-Inch 1 HP Jointer with Quick-Set Knive System, 115/230-Volt 1-PhaseThe edge you just squared will ride along your table saw fence to cut 4 straight rails from the board.
With that done you can then run the rails through the planer, flat face down, to produce four rails that are the exact same thickness.
Turn the four boards on edge, run them through the planer again to produce four rails that are also the exact same width.
Other Advanced "Picture Framing Tools" to Consider
|
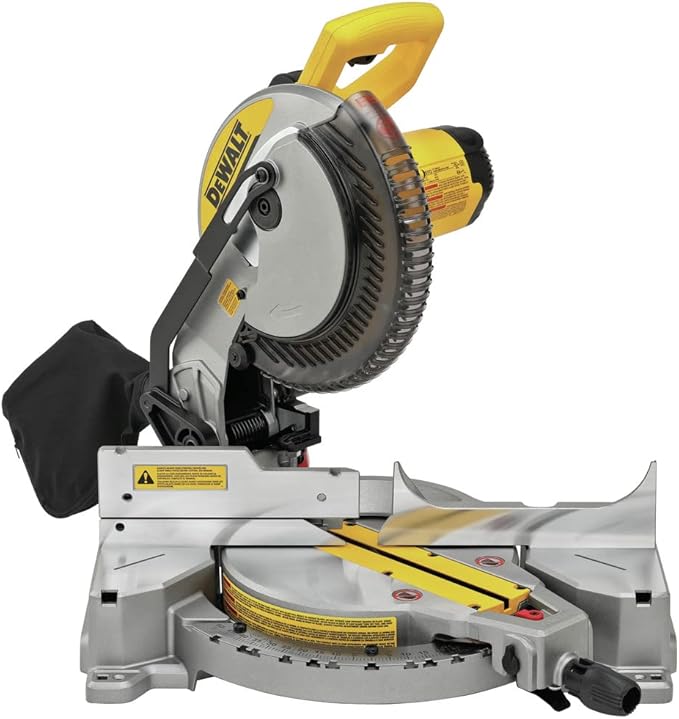
Power Miter Saw Once you reach the stage of making a lot of frames, saving time is even more important. Having and accurate tool, like a power miter saw, to cut miter joints again and again quickly pays for itself. You save time in set up and eliminate the cost from poorly cut joints. I own this this 10" Dewalt model and rely on it exclusively. |
|
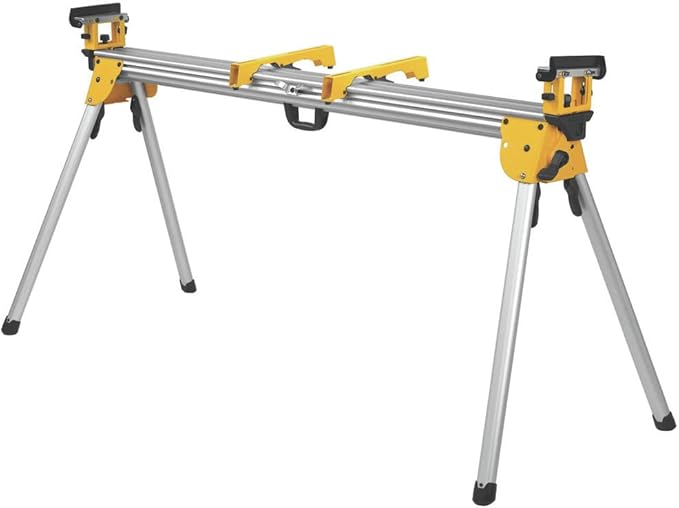
Miter Saw Stand If you own or buy a power miters saw, it's worth building or a buying a stand with stop blocks and extension arms. Since my focus is on building frames, I chose not to take the time to build a miter saw station. I invested in this particular stand instead because it has very easy to use stop blocks and long extensions arms (that are useful for other projects also!). You can't cut perfect miter joints unless the rails are identical in length. Having an accurate stop block system is a MUST. |
|


Have a question or a comment? This space is for you! Leave it in the box below.