Cutting Double Mats
Take it to the next level
Cutting double mats may seem a bit advanced, but as you get more comfortable cutting single mats, why not try something a little bit more challenging?
Double mats add even more to a picture or a document.
Something about the layering and the color combo pack a real punch.
The tricky part though is the "math of it", and getting everything to line up perfectly.
If the inner mat is not even on all sides it still packs a punch - unfortunately, it's to the gut!
There is a very simple way to make sure your mats come out perfect every time. So, let's get down to business.
There are detailed pictures and a video below, so scroll down to "see" how easy cutting double mats actually is!
Keys to Cutting Double Mats
To keep things straight, here are some keys to remember:
- The Show Mat is the mat you see all of. It's the mat that lays right up against the glass, and will have the larger window cut into it.
- The Accent Mat is the mat that actually surrounds the picture, you only see a sliver of it. It has the smaller window cut into it.
- For this example we are matting an 8 x 10 picture for an 11 x 14 frame.
Here is where the simplicity begins. The window in the Show Mat should be cut to the actual size of the picture - 8" x 10".
Shave a 1/2" off of both the width and the height from that measurement to get the size of the window in the Accent Mat - 7 1/2" x 9 1/2"
When the two windows are cut and lined up perfectly, you will see exactly 1/4" of the accent mat on all 4 sides of the picture.
The Secret to Cutting Double Mats
In order for the 2 mats to line up perfectly, they both have to be square and can't "shift" out of place by moving around when the frame is handled.
That's not always easy to pull off.
So, here are the steps to solve both problems.
1. Start by cutting the Show Mat to match the size of the frame - 11" x 14". Cut the Accent Mat board slightly smaller - 10 1/2" x 13 1/2" (being a bit smaller than the Show Mat makes it easier because you don't have to worry about lining up the edges of both mats perfectly. This will make more sense if you watch the video).
2. Cut the window in the Show Mat to 8" x 10"
3. Place the Show Mat face down down, and using double sided tape, tape the Accent Mat, face down, on the back of the Show Mat. Don't worry if the mats aren't lined up perfectly - you will measure the cut-lines for the Accent Mat off of the edges of the Show Mat.
Tip: Only tape the top of the two mats together. This will allows the mats to expand and contract slightly as humidity changes. Taping all 4 sides may result in puckering or buckling of the mats.
|
Step #1 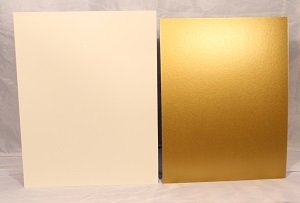 11x14 Show Mat - left 10.5 x 13.5 Accent Mat - right |
Step #2 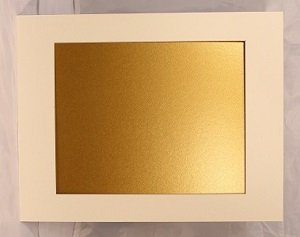 Cut the window in the Show Mat to the size of the picture - 8 x 10 |
Step #3 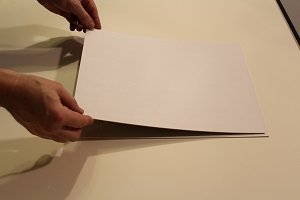 Tape Accent Mat to the back of the Show Mat, using acid free double faced tape, AFTER cutting the window in the show mat. |
4. Using the edges of the Show Mat to start your measurements, measure and draw cut-lines on the back of the Accent Mat for a window of 7 1/2" x 9 1/2".
5. Cut the window out of the Accent Mat and flip the mats over.
6. Check for clean corners, then admire your work.
You now have a perfectly cut double mat that won't shift or move out of alignment.
|
Step #4 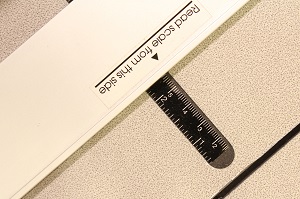 Measure and draw cut lines for window of Accent Mat, remember to measure from the edges of the Show Mat! |
Step #5 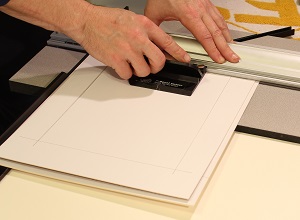 Cut out the window of the Accent Mat. |
Step #6  Admire your perfectly cut Double Mat. |
It's pretty simple, once you actually do it. So, practice cutting double mats on some scrap board to get the hang of it.
You'll get it quickly....
...then - try a triple mat or, what the heck, a quadruple mat if you feel like it. Use the same steps. Just remember the more mat boards you use the more depth you need in the rabbet or you won't be able to close up the back of the frame!!
Have a question or a comment? This space is for you! Leave it in the box below.