Making Picture Frames - Step 3
Cutting Rabbets
Rabbets are simply grooves cut in a piece of wood, near the edge that allow something else to sit on top of it.
For example, another piece of wood - which creates a joint or for our purposes - the glass, mat, and backboard of our picture frame.
They are arguably the most important feature of a picture frame.
Without them, you can't put the sandwich of glass, mat, picture and backing board together.
Everything will simply fall out.
Here are some tips and suggestions on cutting them for your frames.
They can be cut in different ways:
- dado blades in a table saw (set the width and height of a stack of blades and cut in 1 or 2 passes)
- router bits
- basic table saw set up
I've tried all three methods and they all work, but...
...I think the easiest and most efficient way is using your basic table saw set up.
Since they all work, I won't list the pros of each. My point will be made by simply listing the cons.
Cutting Rabbets with Dado Blades
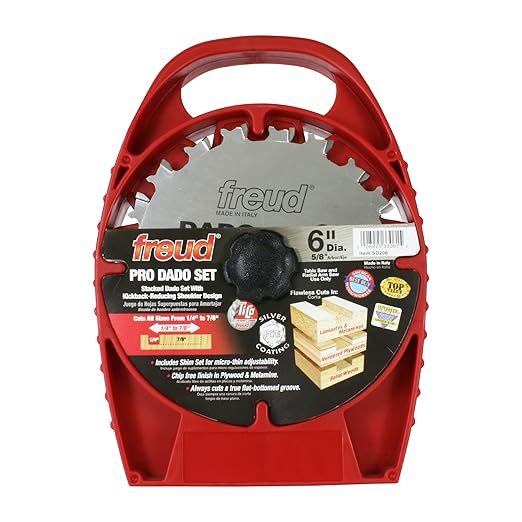
Dado blades are a set of individual blades that can be expanded to varying widths by adding more blades to "the stack". This makes cutting a 1/2" dado faster in theory, but you have to mount several blades on your table saw to achieve that width then...
...you have to take them all off and remount your regular saw blade before you can use your table saw again.
|
Click on pic for details |
The most common sets come in 6" and 8" blades. If you need to create some really deep rabbets you may need the 8" set, but for the majority of work you'll do, I'm confident in saying the 6" set is all you need. Good thing too, the 6" sets are cheaper! The set of blades pictured to the left is the set I own. If you're interested in trying a dado set, I recommend them. |
They do exactly what they are supposed to do and Freud has always produced high quality blades in my opinion.
Cutting Rabbets with Router Bits
Router bits can produce beautiful rabbets, they are not quite as efficient though,in my opinion.
You'll need to make several passes on each rail to achieve your depth and width.
Router bits can also dull quickly because they have to "hog out" so much wood.
Making Rabbets with a Table Saw:
Depth – standard glass and standard mat boards are both 1/16", standard foam board backing is 3/16" - so, at a minimum, the depth of the rabbet should be 3/8". I prefer 1/2" deep rabbets.
Width – I recommend at least 3/8" wide. It will work with less, some only use 1/4". I just like have more of an edge to work with.
|
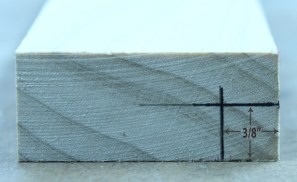
We can make the rabbet in 2 passes. Instead of measuring from the fence to the blade... ...I like to make cut lines on the end of one of the rails. |
|
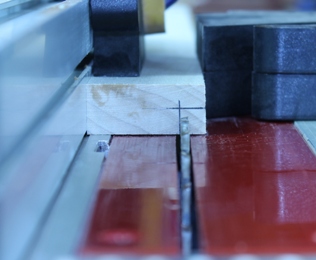
I use brass measuring bars to make both cut lines quickly and accurately (as shown above). Set the blade height to either 3/8" or 1/2" depending on the thickness of your wood (using the same brass measuring bars makes it easy and fast!) Lay the rail flat and line up the blade with the cut-line, the cove facing the saw blade. Pass the rail over the blade and repeat for the second rail. |
|
Turn the rail on edge now, line up the saw blade with the width cut-line, lock the fence in place. Pass the rail over the blade and repeat for the 2nd rail. Keep in mind - the 3/8" cut-off will fall between the rail/saw blade and the fence. Be aware of that piece in case it should get thrown back to the front of the saw. |
I ALWAYS stand to the side of the table saw until the cut is complete and the cut off is removed.
|
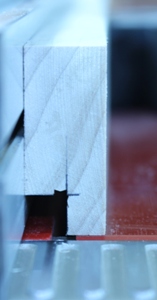
Tip- after making the first cut on the rails, raise the blade a touch before making the 2nd cuts. This will create a small channel beyond the width cut for glue to squeeze into when gluing the frame together. That will reduce the amount glue that squeezes onto the face of the frame when clamped. You now have 2 - 36" rails, each with a cove profile on the inside edge and a 3/8" x 3/8" rabbet. You're making great progress at this point! Now its time for Step 4 - to cutting your miter joints.... |
 |


Have a question or a comment? This space is for you! Leave it in the box below.